Let's get acquainted with the menus and screens. It's also time to review our account settings.
Under "Menu" you'll find buttons (links) to our main pages. These currently are:
Dashboard
An overview of all open RMAs with "quick status update" and printing options. An RMA is considered open if the status is different from "Returned", "Refunded" or "Replaced". Please consult the "Dashboard page" section of this manual.
New RMA
Quickly enter a new RMA. You need to have entered at least one customer and one product through the Customers and Products screens. If your customers are allowed to enter RMAs themselves, they can do so through their Customer pages. Please consult the "Customers pages" section of this manual for more information.
All RMAs
Like the Dashboard screen, only with all RMAs listed, open and closed. RMAs can be created, edited an deleted through this screen. Please consult the "All RMAs page" section of this manual for more information.
Products
You can manage the catalog of your products and parts through this screen. You need to enter at least one product in order to being able to create new RMAs. Please consult the "Products page" section of this manual for more information.
Customers
You can manage your customers through this screen. You need to enter at least one customer in order to being able to create new RMAs. Please consult the "Customers page" section of this manual for more information.
Suppliers
You can manage your suppliers through this screen. Please consult the "Suppliers page" section of this manual for more information.
Settings
You can manage your account settings through this screen. Please consult the images and information below for more information about your account settings.
Repair Online, first looks and settings
Hover your mouse over the images for more information. Click images for an enlargement. Press the Esc key to close image views.
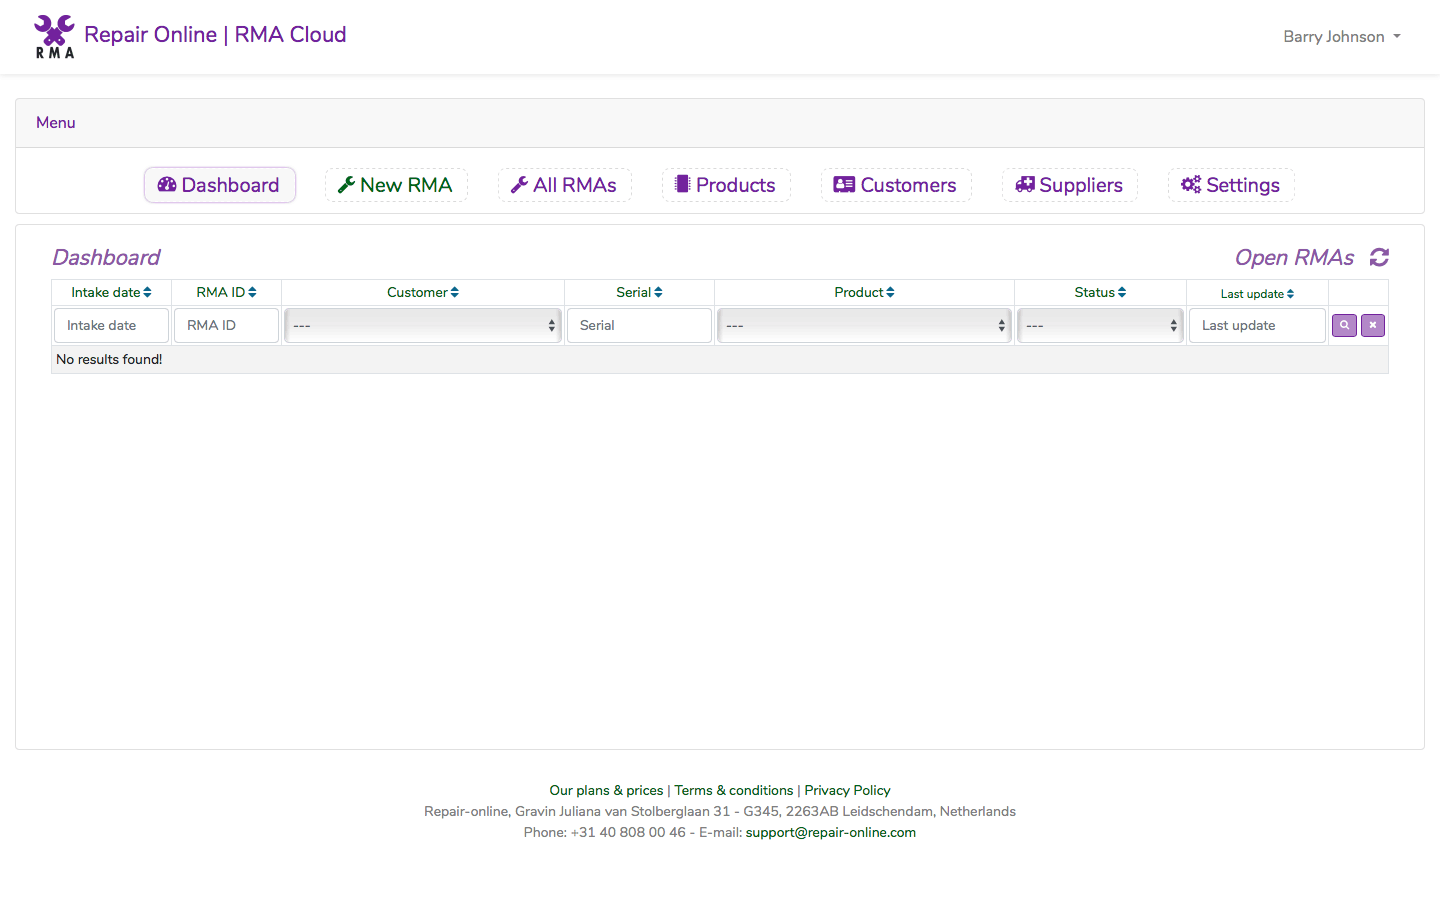
This is the main screen with the dashboard page opened on entry. There is information entered yet, the dashboard is empty
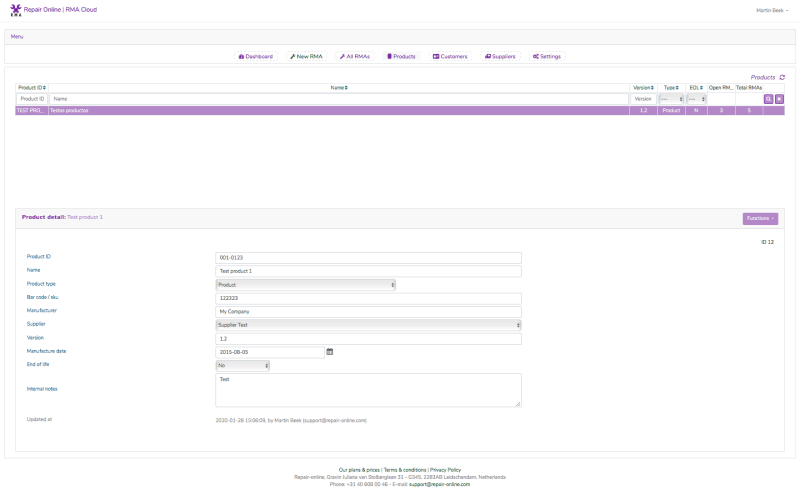
Screens have a top part with a sortable/searchable grid with data records, and a bottom part with the record detail. Click a record in the grid to load it's details.
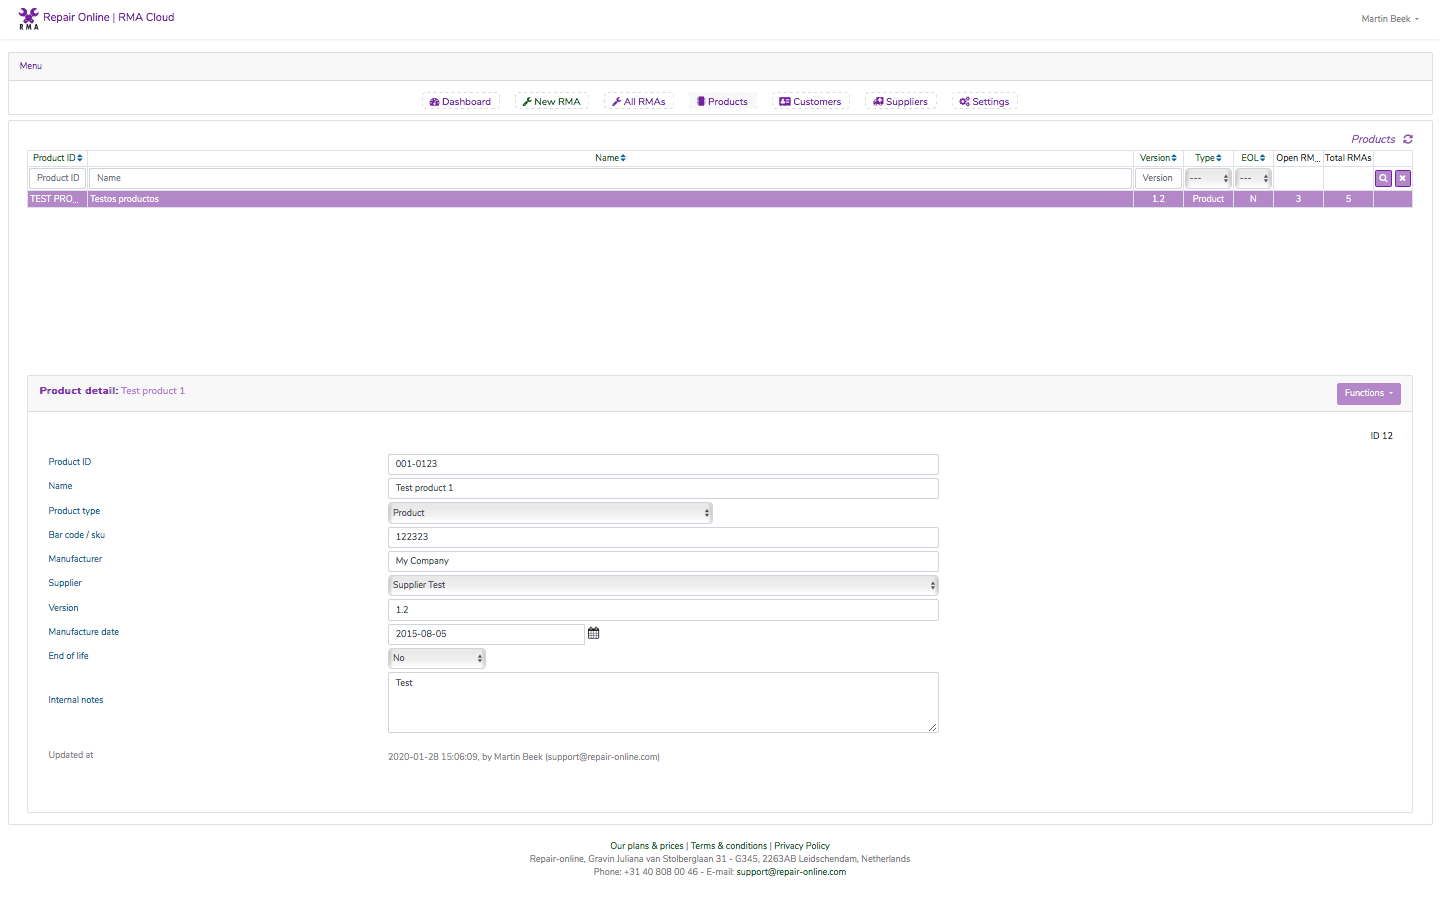
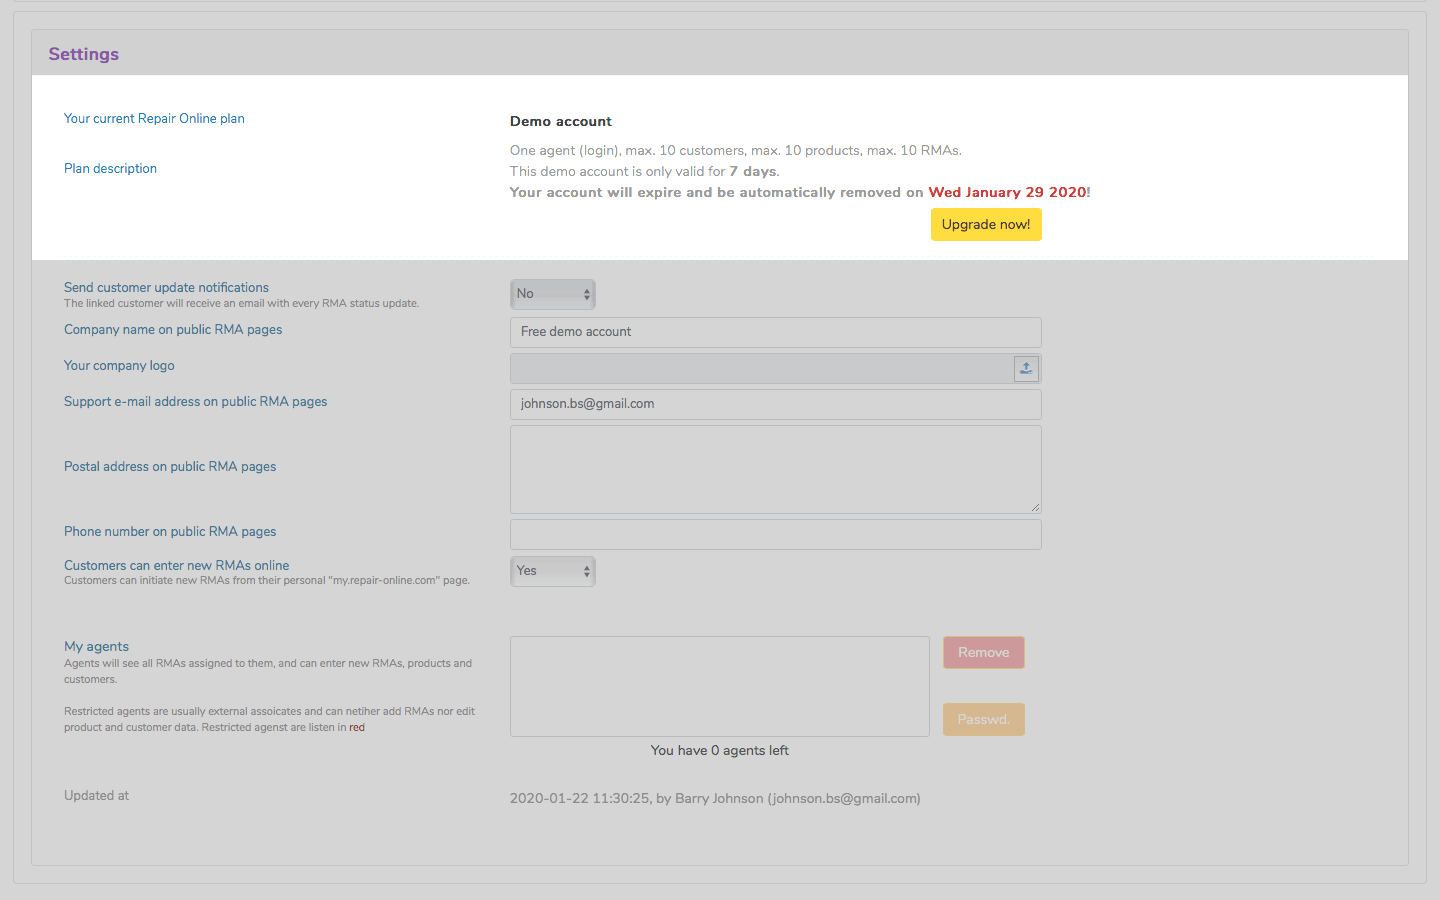
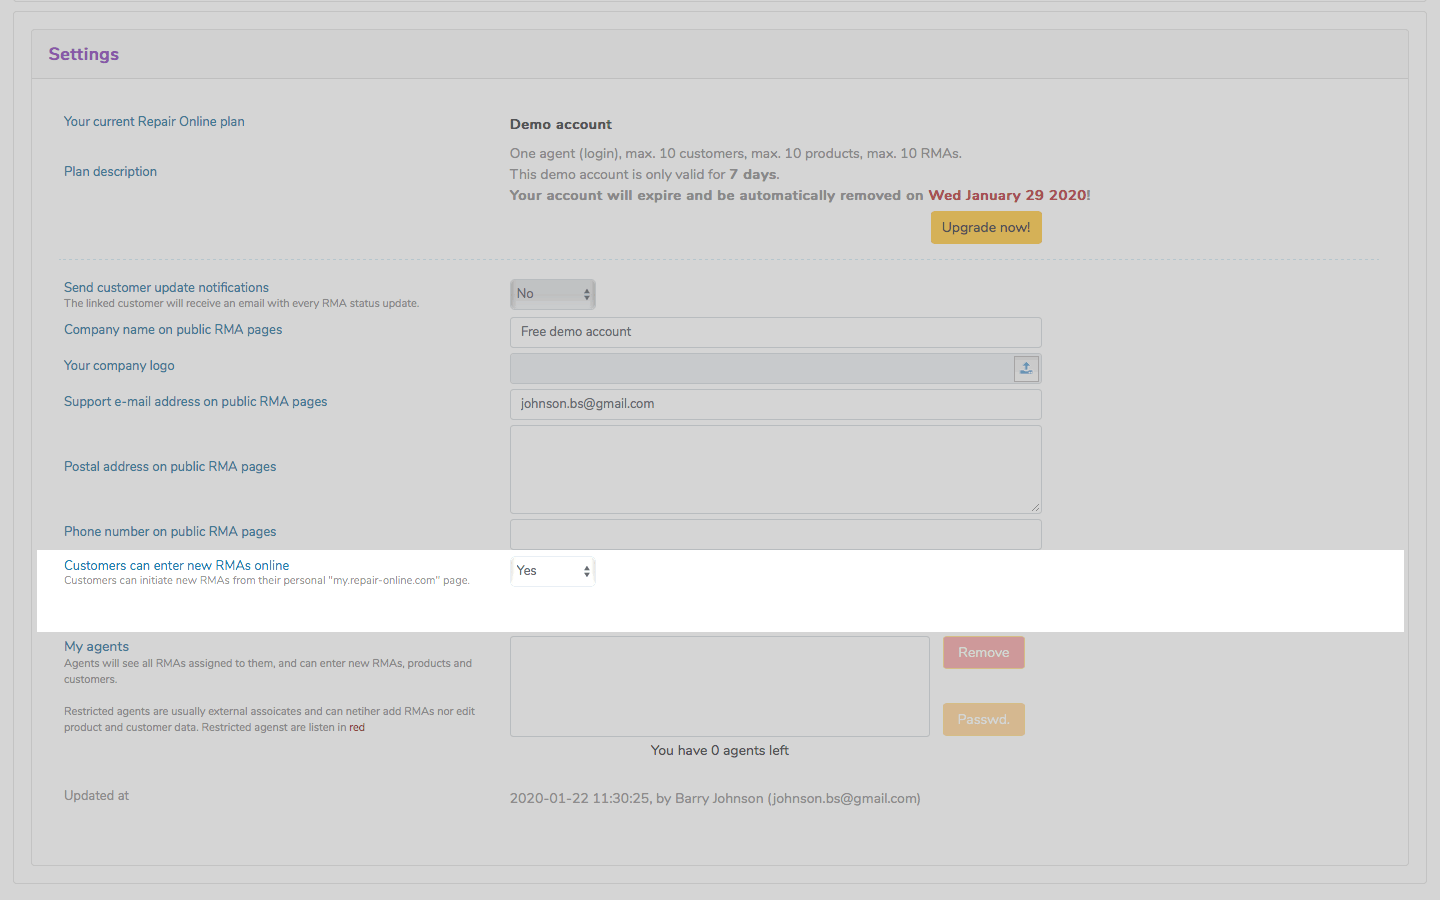
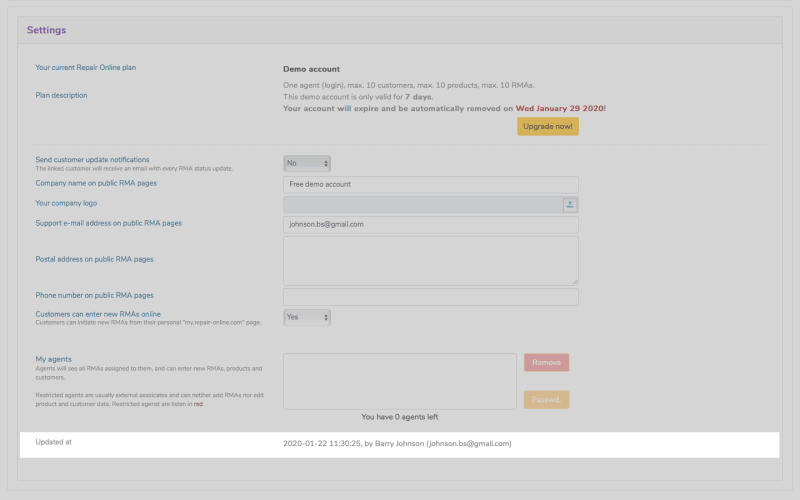
Printed at the bottom of each datarecord screen is the date/time of the last modification to the data, including the account name.
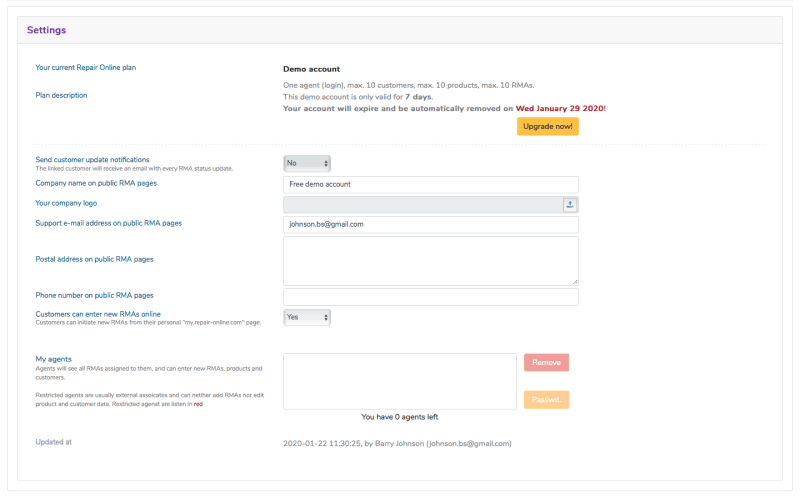
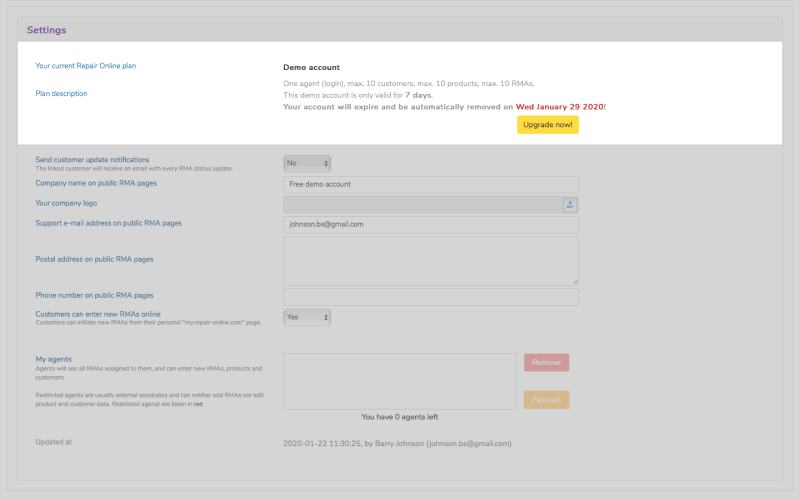
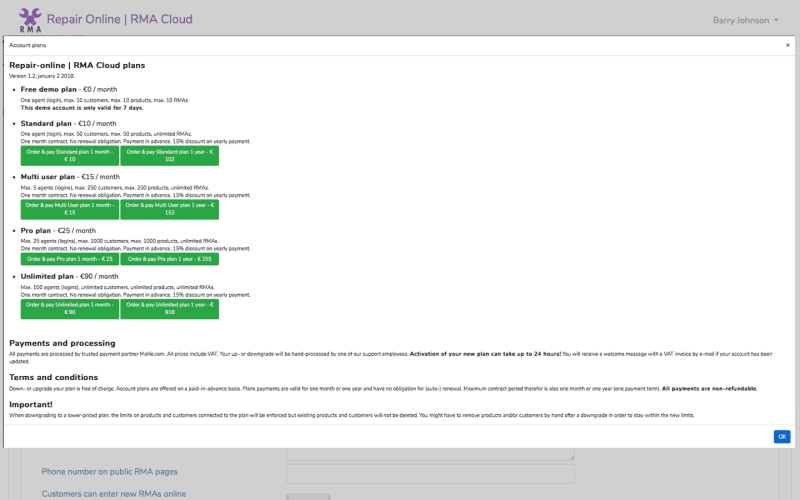
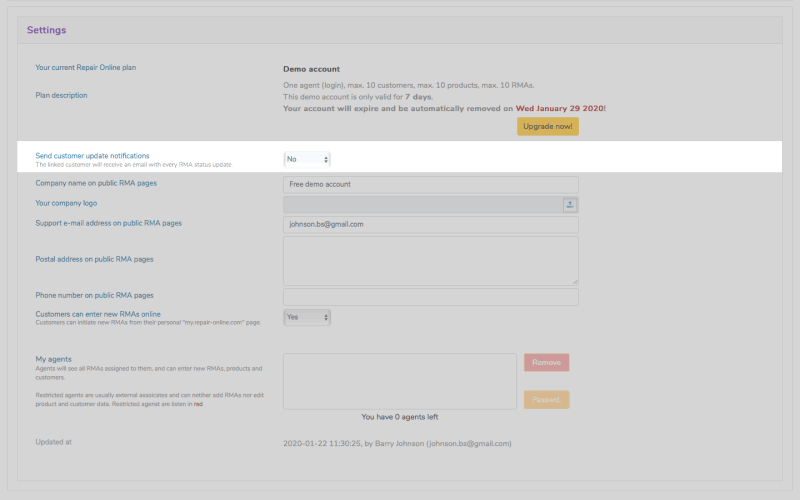
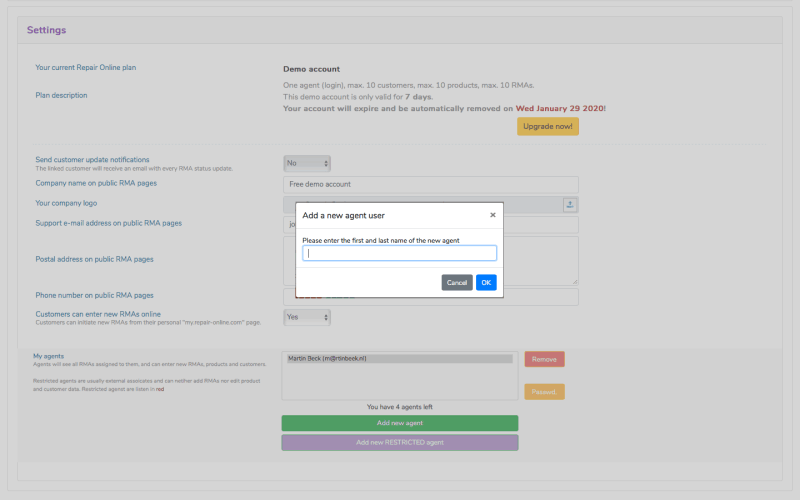
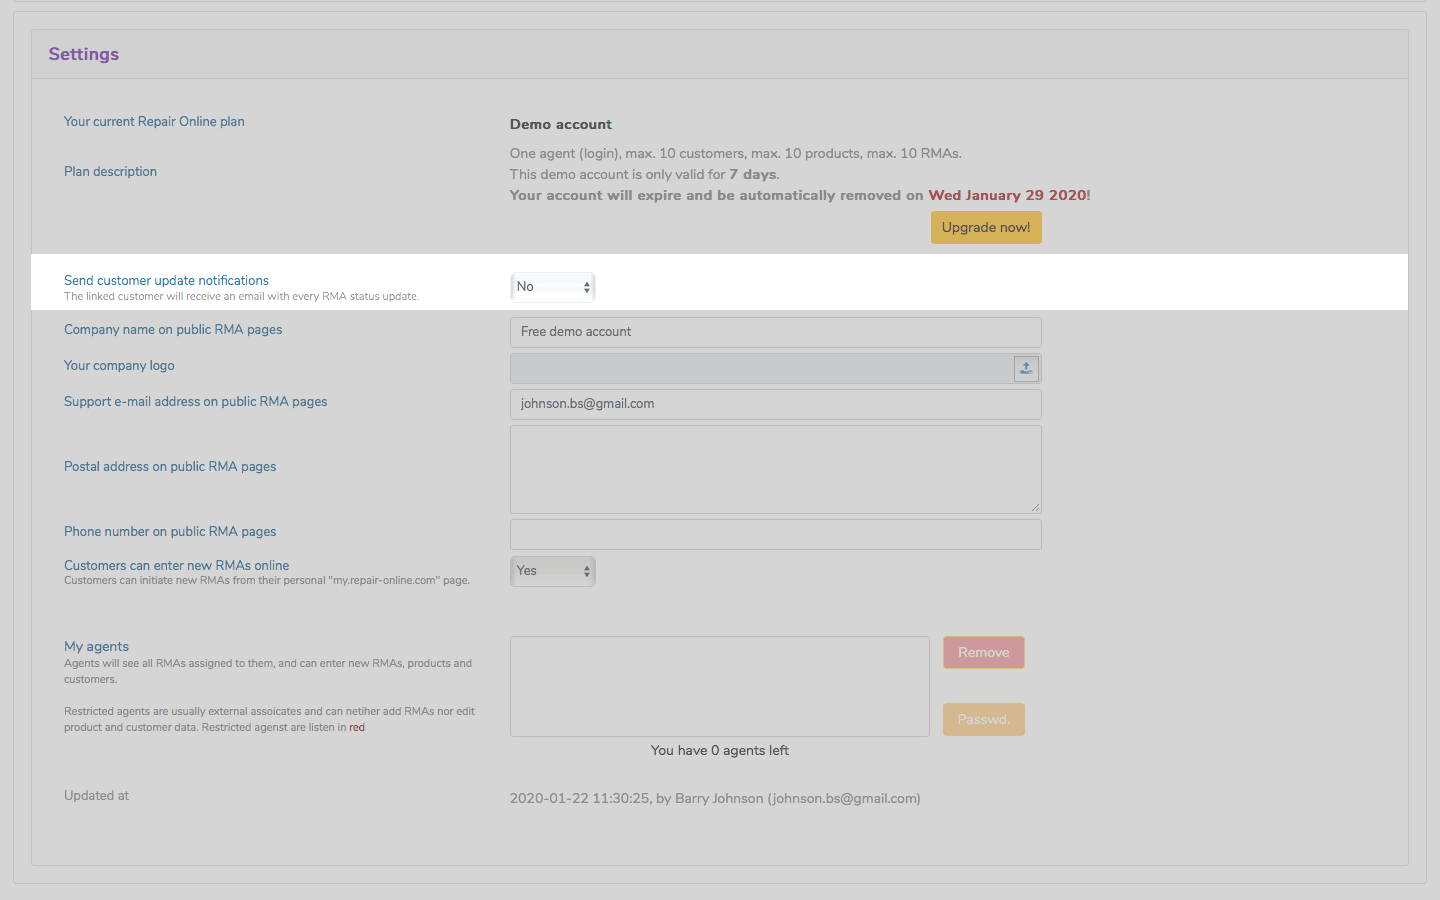
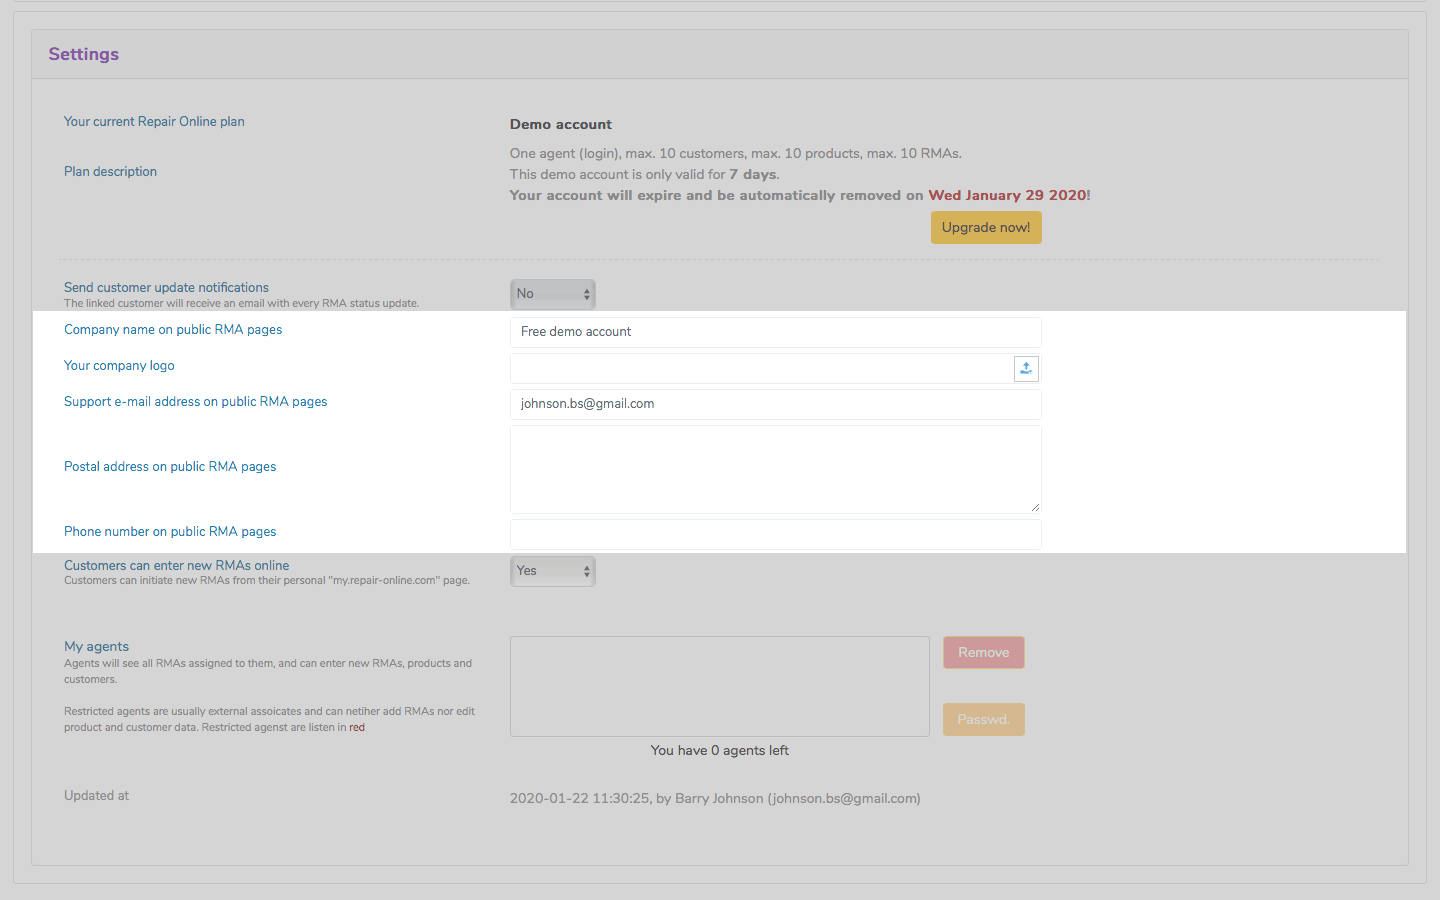
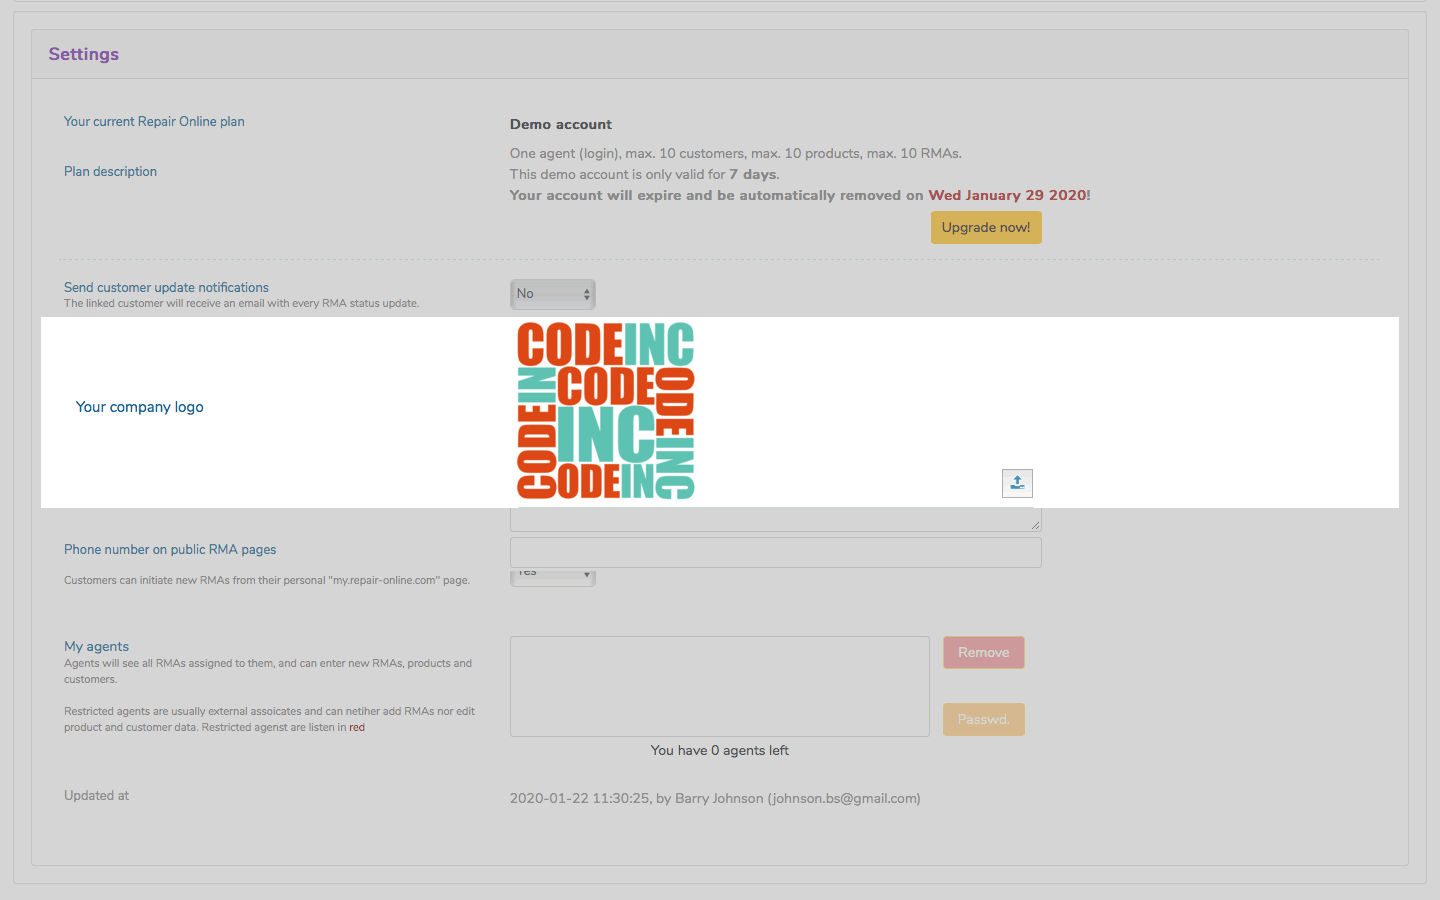
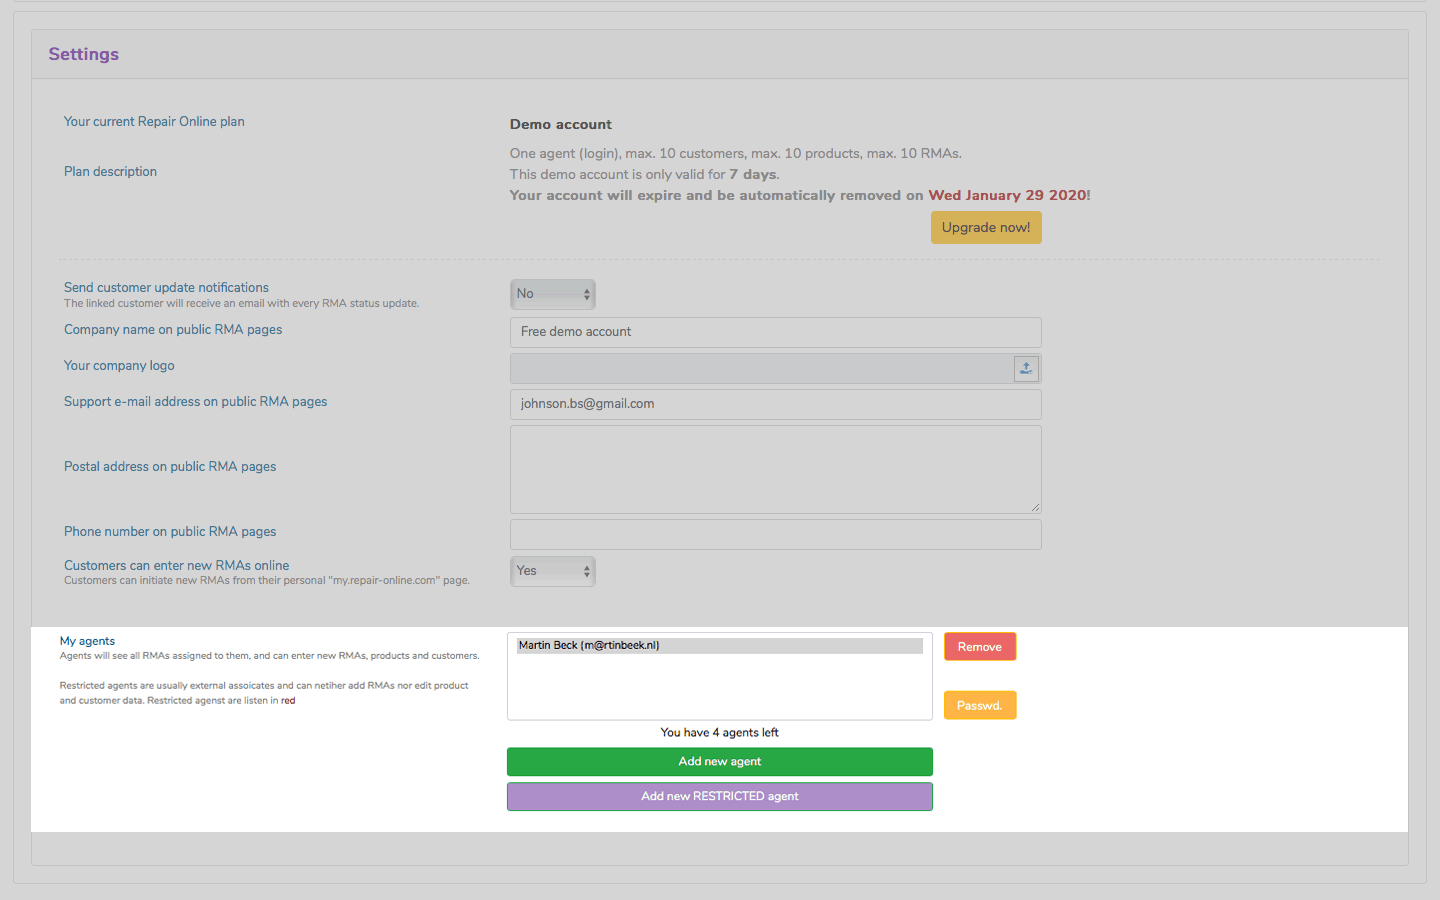
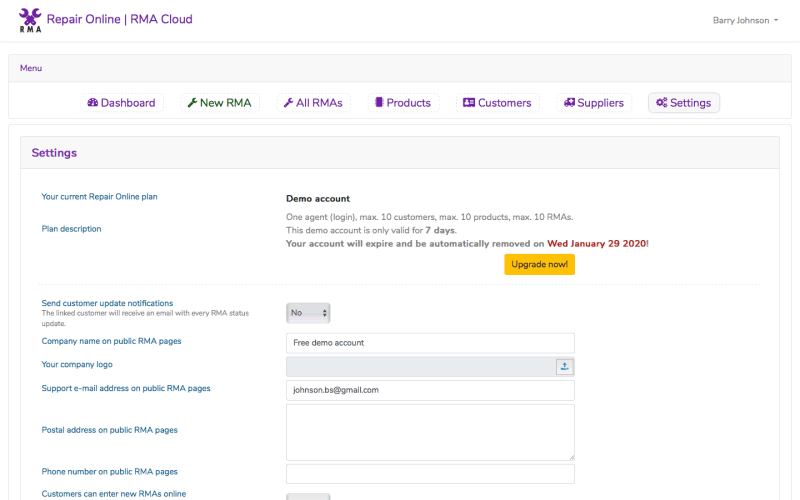
This is an overview of the configuration screen. As an excpetion to the rule, this screen has no top data-records grid.
Overview: global account settings are made through the Settings screen. This is the view for free test accounts.
Overview: This is the slightly different view for paid plans' settings screen.
This block provides information about the current plan and expiration date. You can upgrade your plan with the Upgrade Now button.
The Upgrade Now button brings up the Purchase Plan pop-up. From this screen you can instantly upgrade an pay your plan. Please read the insctuctions on screen.
If notification addresses are entered for a customer, they will receive a notification mail each time an RMA's status is changed. Not available for test accounts.
Here you can define your business information that is shown on customer pages and in e-mail notifications.
Paid plan accounts have the option to upload their company logo, to be displayed on customer pages and in e-mail messages.
This setting controls the menu of the Customer Pages and if the customer is allowed to enter new RMAs online.
Paid plans have the option to create secondary logins (sub accounts) for employees and associates. These "Agents" can have full and restricted rights.
A full-access login can be added by clicking Add New Agent. Supply a name and a valid e-mail address. A new login password will be created.
A restricted-access login can be added likewise, by clicking Add New RESTRICTED Agent. Retricted logins can only view and edit RMAs assigned to them.